 Cart and Checkout: Additional fields settings
Use the last two sections of your shopping cart settings to finalize all options and customize the checkout in your online store in accordance with the needs of your business.
Additional fields settings
1. Log into your admin panel > Settings > Cart and checkout > Additional fields settings section.
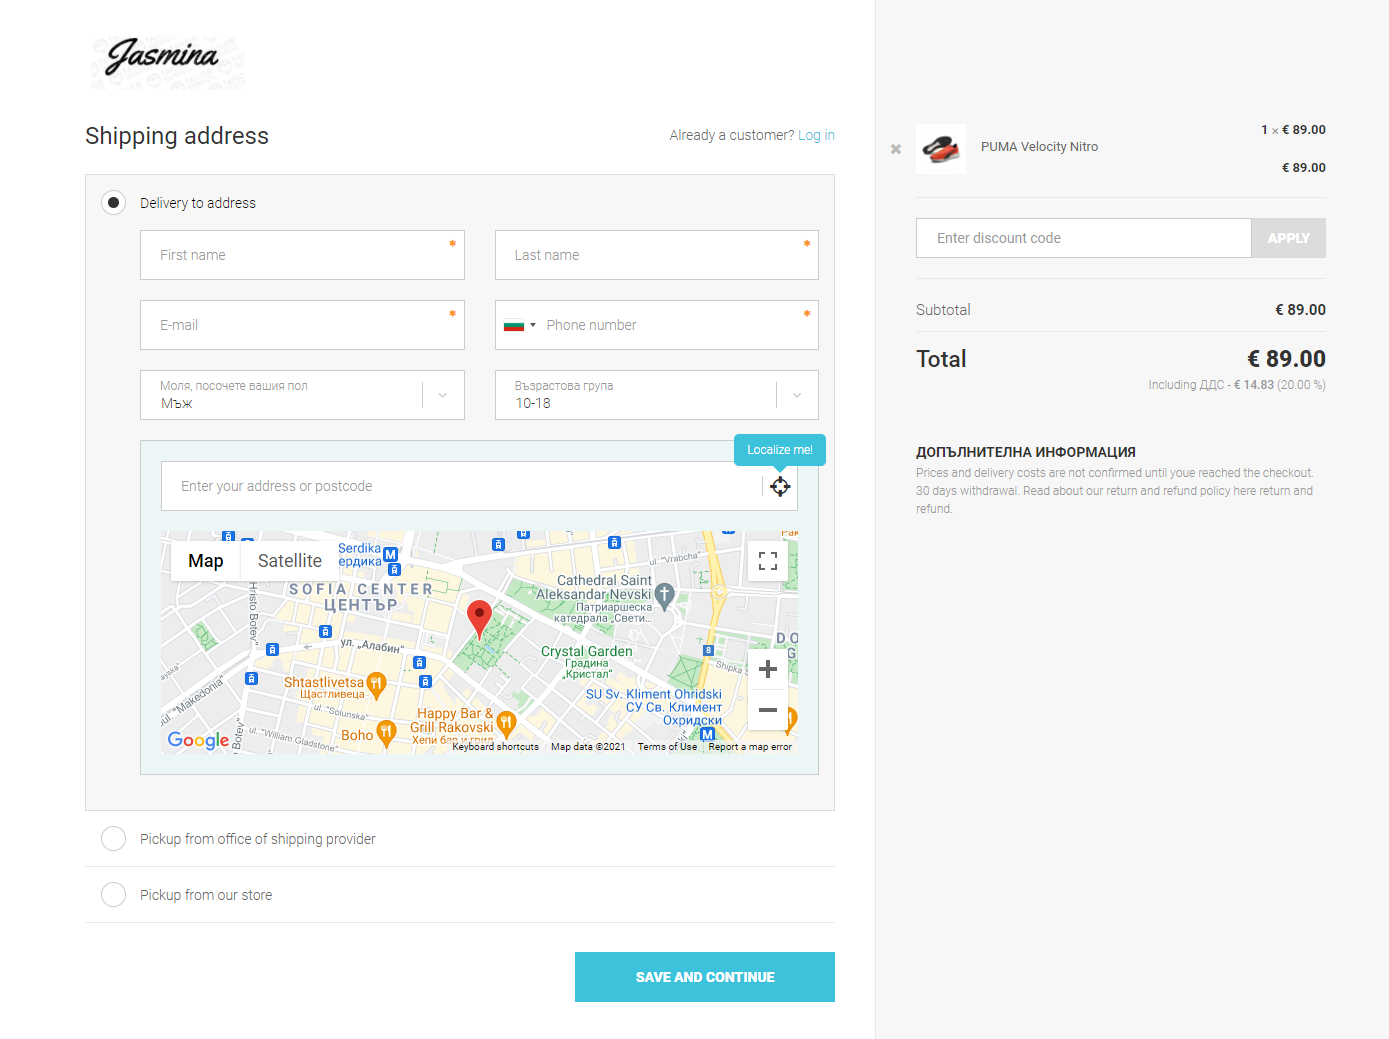
Every field can be optional, obligatory, or hidden, you are free to adjust it as you need it.
Use the settings shown in the image above to set whether your customers will have the option to enter an invoice address other than the shipping address. If the first option Don't ask for billing address is enabled (as by default), your customers will not have a button through which to enter invoice address information. If you turn off the button (OFF), you can set which invoice data fields are required or optional, or not visible at all.
Miscellaneous

These settings allow additional control over your store. Through them, you can hide the cart, add a dynamic map from Google Maps, as well as direct the customer to the desired page.
1. Show the cart icon at the header - If you enable this option, the shopping cart icon will be displayed at the top (header) of your store.
2. How to display the bubble - From this option you can choose if the cart bubble shows the number of unique products in the cart or the total quantity of products. 
3. Sort products in the cart by - from here you can sort the products in the following ways: product category and add order. 4. Hide Google map in addresses - If you enable this option, your customers will not be able to use Google Maps to fill in their shipping addresses more easily and quickly.
5. Hide Google Card in office delivery method - if you enable this option, customers will not be able to use Google Map to fill in their delivery address easier and faster when they choose "office delivery" as their delivery method.
6. Hide Google Map in Locker Delivery Method - if you enable this option, customers will not be able to use the Google Card to fill in their delivery address more easily and quickly when they opt for a "Delivery to a locker" delivery method.
7. Google Maps API key - You will need the Google Maps API key if you want to use address hints and map rendering.
8. Action after customer clicks on 'Buy now' button - Use the drop-down menu to select what happens in your store when customers click the buy product button.
Forward to the checkout page - the order finalization page will open automatically as soon as you click the buy button. Your customers will see the checkout immediately and will be able to directly start finalizing an order with the added product.
Forward to the cart page - your customers will be redirected to the cart (it can open as a side panel, if you enable the next option). In this way, in the cart, the customers will be able to make changes to the order, close the cart or proceed to finalize an order in the checkout.

Show confirmation popup - your customers will see a pop-up window in which they will be able to choose whether to continue shopping or to proceed to finalizing their order in the checkout.

Do nothing - if you select this option, the only indication that your customers have added a product to the cart will be the number of products added to the cart icon on the store header (if the icon display option is enabled).

Continue with the settings below:

5. Show 'Cart page' as a side panel - This option will only work if in the previous step you selected the action after adding to cart to "Forward to the Cart Page".
6. Merging carts - if you enable this option, this means that the current cart will be united with an old one saved in the customer's account after login.
7. Payment methods - from here you choose which payment methods to be active when creating orders from the admin panel. You can select from all methods that you have configured in your store.
8. Hide "I accept marketing" checkbox - enable this option if you want your customers to sign up to receive marketing messages from you.
9. Please choose the static page which contents your Terms of Service - This page will be visible when the order is finalized and customers will need to accept the terms written in the order to complete it.
10. Add additional pages - Select this option if you want to add more static pages with content that your customers need to agree to before finalizing an order.

Learn about Cart and checkout: Processing orders here, as well as Cart and checkout settings here.